Print cartridge troubleshooting
If you are experiencing problems with printing, you might have a problem with one of
the print cartridges.
To troubleshoot print cartridges
1.
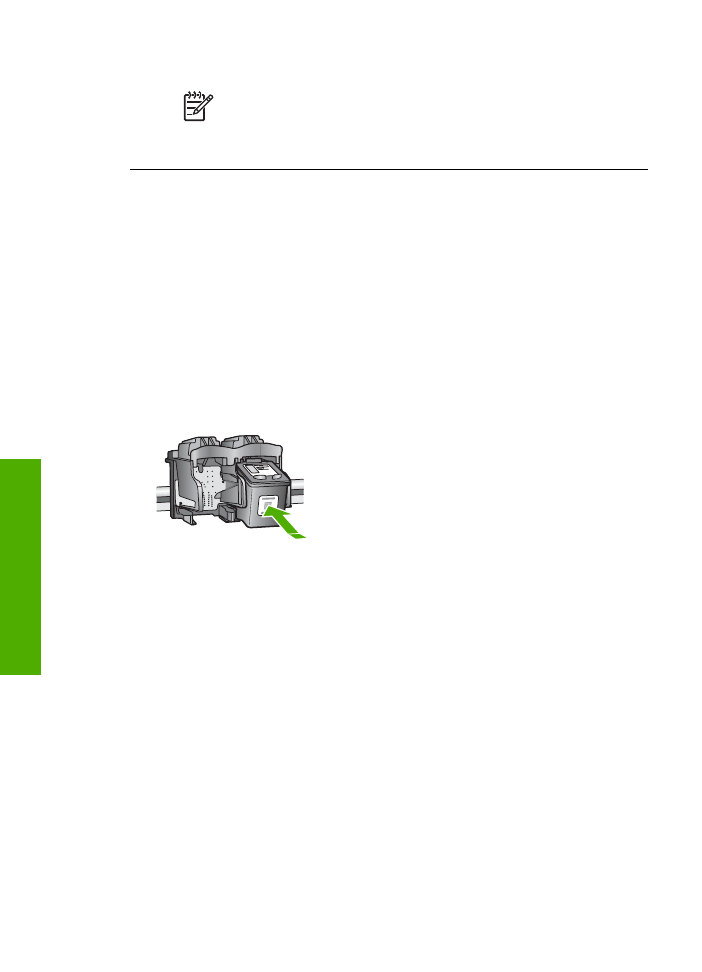
Remove the black print cartridge from the slot on the right. Do not touch the ink
nozzles or the copper-colored contacts. Check for possible damage to the copper-
colored contacts or ink nozzles.
Make sure the plastic tape has been removed. If it is still covering the ink nozzles,
gently remove the plastic tape by using the pink pull tab.
2.
Reinsert the print cartridge by sliding it forward into the slot. Then push the print
cartridge forward until it clicks into the socket.
3.
Repeat steps 1 and 2 for the tri-color print cartridge on the left side.
4.
If the problem persists, print a self-test report to determine if there is a problem
with the print cartridges.
This report provides useful information about your print cartridges, including
status information.
5.
If the self-test report shows a problem, clean the print cartridges.
6.
If the problem persists, clean the copper-colored contacts of the print cartridges.
7.
If you are still experiencing problems with printing, determine which print cartridge
is experiencing the problem and replace it.
For more information, see:
●
Replace the print cartridges
●
Print a self-test report
●
Clean the print cartridges
●
Clean the print cartridge contacts
Chapter 11
108
HP Officejet 4300 All-in-One series
Troubleshooting

12